Wednesday, August 31, 2016

For the past few weekends I managed to get the solera finished with a polyurethane varnish. Honed chisel & plane blades on 400-1200 grit wet n' dry sandpaper glued to a glass plate. Made a shooting board for planing the two top halves centre join.

Thicknessing the top with stanley no #5 plane. Got a lot of tear out no matter how much I sharpened the blade. So used 200-400 grit sandpaper.


Shellac
Shellac 59 gram to 120ml methylated spirit for pre sealing sander mixture and final french polish.


Planing the centre join. As well as having an uneven bottom plane my plane is too short. It was leaving the join convex. I tried to flatten on a 200 - 320 grit sandpaper but this ol' dog refused to budge...It took a lot of patience.

After several attempts at different sanding blocks using recycled wood I found the wood was very slightly warped. The slight variation along the contour of the sand paper made a huge difference in the join. I checked the centre line seam by holding the pieces up to direct sunlight. Each time I thought I had it I would sleep on it and look with fresh eyes the next day only to find I needed to tweak it just a little more. Tiny pin holes of light were along the lower bout seam and I learnt from different sites that this is the most important area to have a perfect join. I eventually used sand paper glued to a new piece of wood - very straight. It worked like a dream. Yay... I eventually got the join. 

Preparation of glueing the top using the Spanish Rope method...

I based my method of tying from studying a video of Antonio Aparicio doing an amazing rope method on a custom build guitar. He is a real maestro. My tie wasn't nearly tight enough so I pushed an extra wedge in places to get the tie super tight.
I was a little worried about my cross-over tie in the lower bout not being centred enough so when banging in the three other large wedges to gain extra tightness I did my best to centre it. I'm very happy to have finally joined the halves. A eureka moment. Now onto the rosette.


Sunday, August 7, 2016

Spool clamps , Wooden Cam Clamps & Solera

Before thicknessing the top I spent some time creating tools. They are rough and ready but it helped me focus on practicing my woodworking. Spool & wooden luthier clamps bought from a luthier supplier are super expensive; I saved some money by buying inexpensive threaded rod, recycled some painting stretcher bars I had lying around, and some wing nuts. I used these you tube links as a guide:

 https://www.youtube.com/watch?v=ov1mc_DcP8E

https://www.youtube.com/watch?v=iyKiY-OK7WM

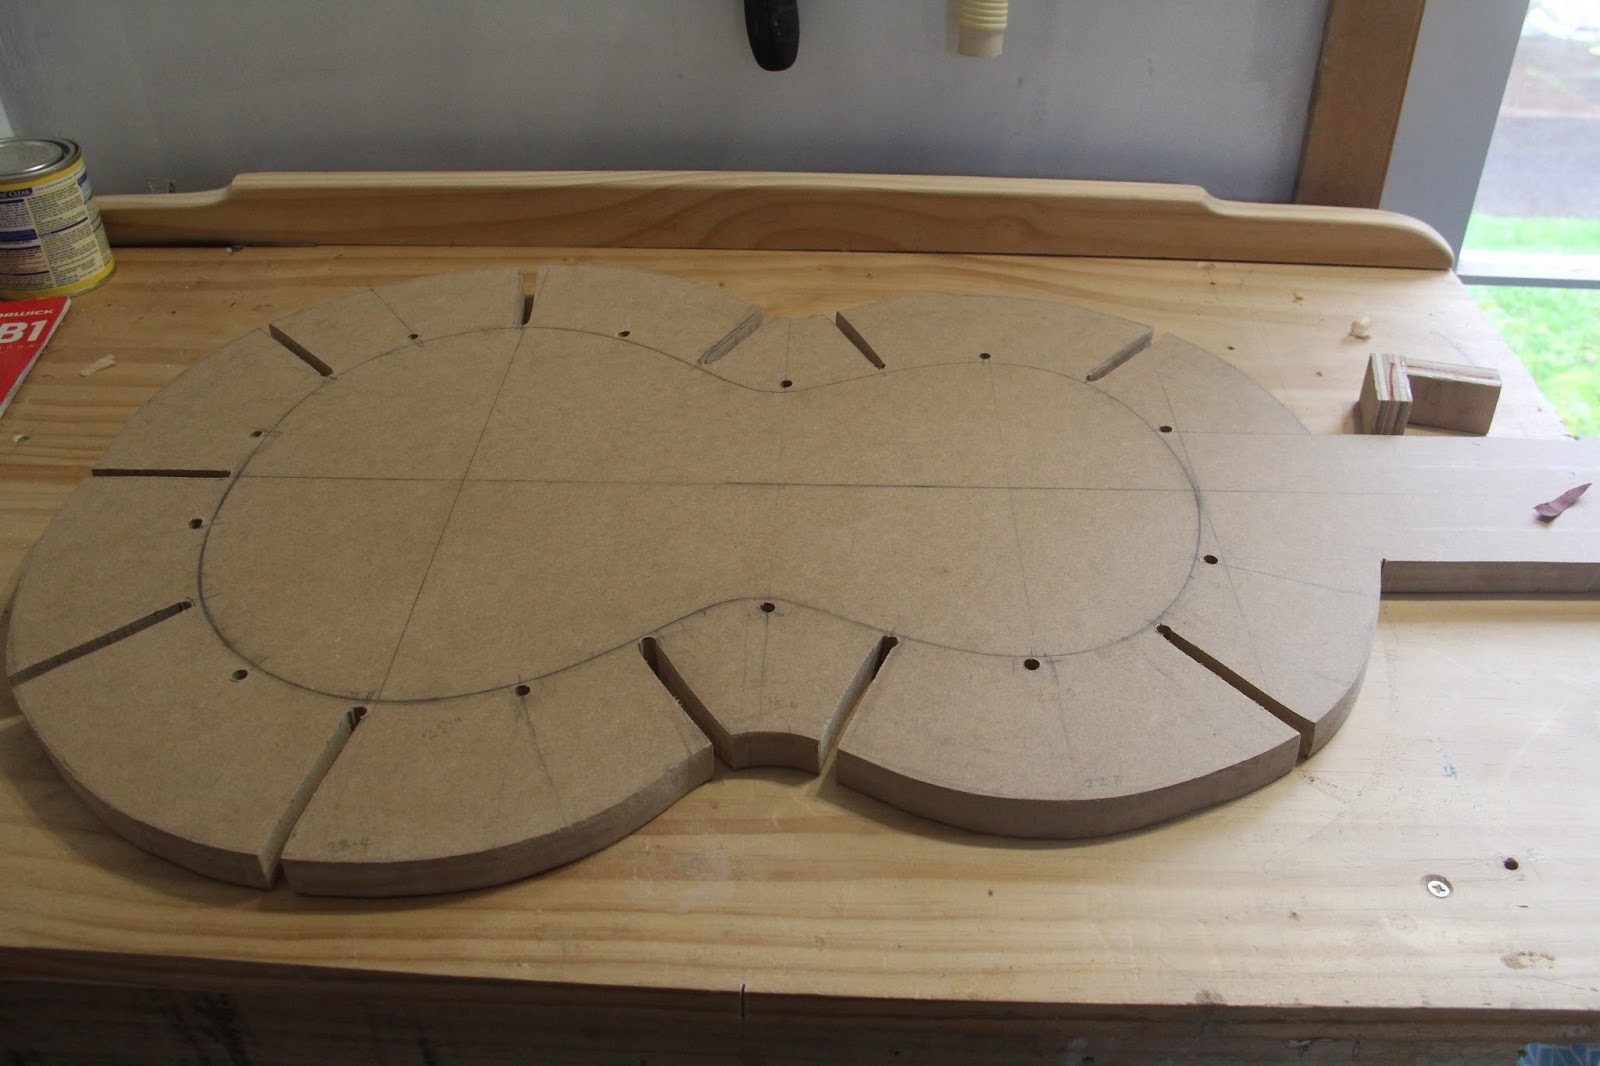
Solera cut out from 18mm mdf

Preparing six mm drill holes for spool clamps & rib supporting blocks
An inexpensive pastry roller cut into 15mm lengths.


Since I don't have router I was wondering how to get a perfect right angle slot for the cam clamps. I recycled some old painting stretcher bars for the job. I planed the sides to square it up.

I glued together a wooden protectors to use in my steel vice. Thought I'd try out the Cam Clamps there grip isn't all that strong compared to steel clamps but seemed to do the job. I guess that maybe that's why luthier prefer to use these as they don't stress the guitar as much as steel clamps. I will keep experimenting. I left them overnight to dry and the glue join was solid.