 |
| Location pins for the Fretboard. I haven't glued the neck yet, I'm waiting until everything is centred. |

 |
| I get to use my mini plane to make the fretboard and neck flush. |

|
| Location pins for the Fretboard. I haven't glued the neck yet, I'm waiting until everything is centred. |
|
| I get to use my mini plane to make the fretboard and neck flush. |
 |
| Preparing V joint for headstock |
 |
| Glueing and bracing neck to headstock |

 |
| After planing the headstock it's ready for the ebony faceplate. |
 |
| Gluing ebony faceplate. I made several tests before starting the final join. Test v joint headstock in the corner. |

 |
| Block cut headstock. |
 |
| Preparing neck heel with three cedar blocks. |


 |
| Ream the headstock holes. |

 |
| Dove tail joint cut and ready to be glued. |
 |
| Using my new Ashley Ives Chisels to cut binding channel |
 |
| Back binding glued, taped and clamped with large rubber bands |
 |
| Test fitting the binding. |
 |
| Cutting the purfling channel |

 |
| Test strip on spruce off-cut |
 |
| Purfling channel complete and I put a layer of shellac on the top to protect the soundboard from glue and tape. |
 |
| My HiTech hide-glue warmer. |
 |
| When fitting the back binding I had some gaps with the rubber band method. I decided to try the rope method. It worked a lot better for me. |
 |
| Scraping the purfling level |
 |
| Test fit for the ebony binding. |

 |
| Binding & purfling ready for scraping. |
 |
| Brace radius for back dome was done using a sandpaper block. Glued with clamps. |


 |
| Shaping the dome with 80 grit sanding block |
 |
| Checking the overhang of braces; marked with a pencil. Cut to length to fit the slots with a chisel |
 |
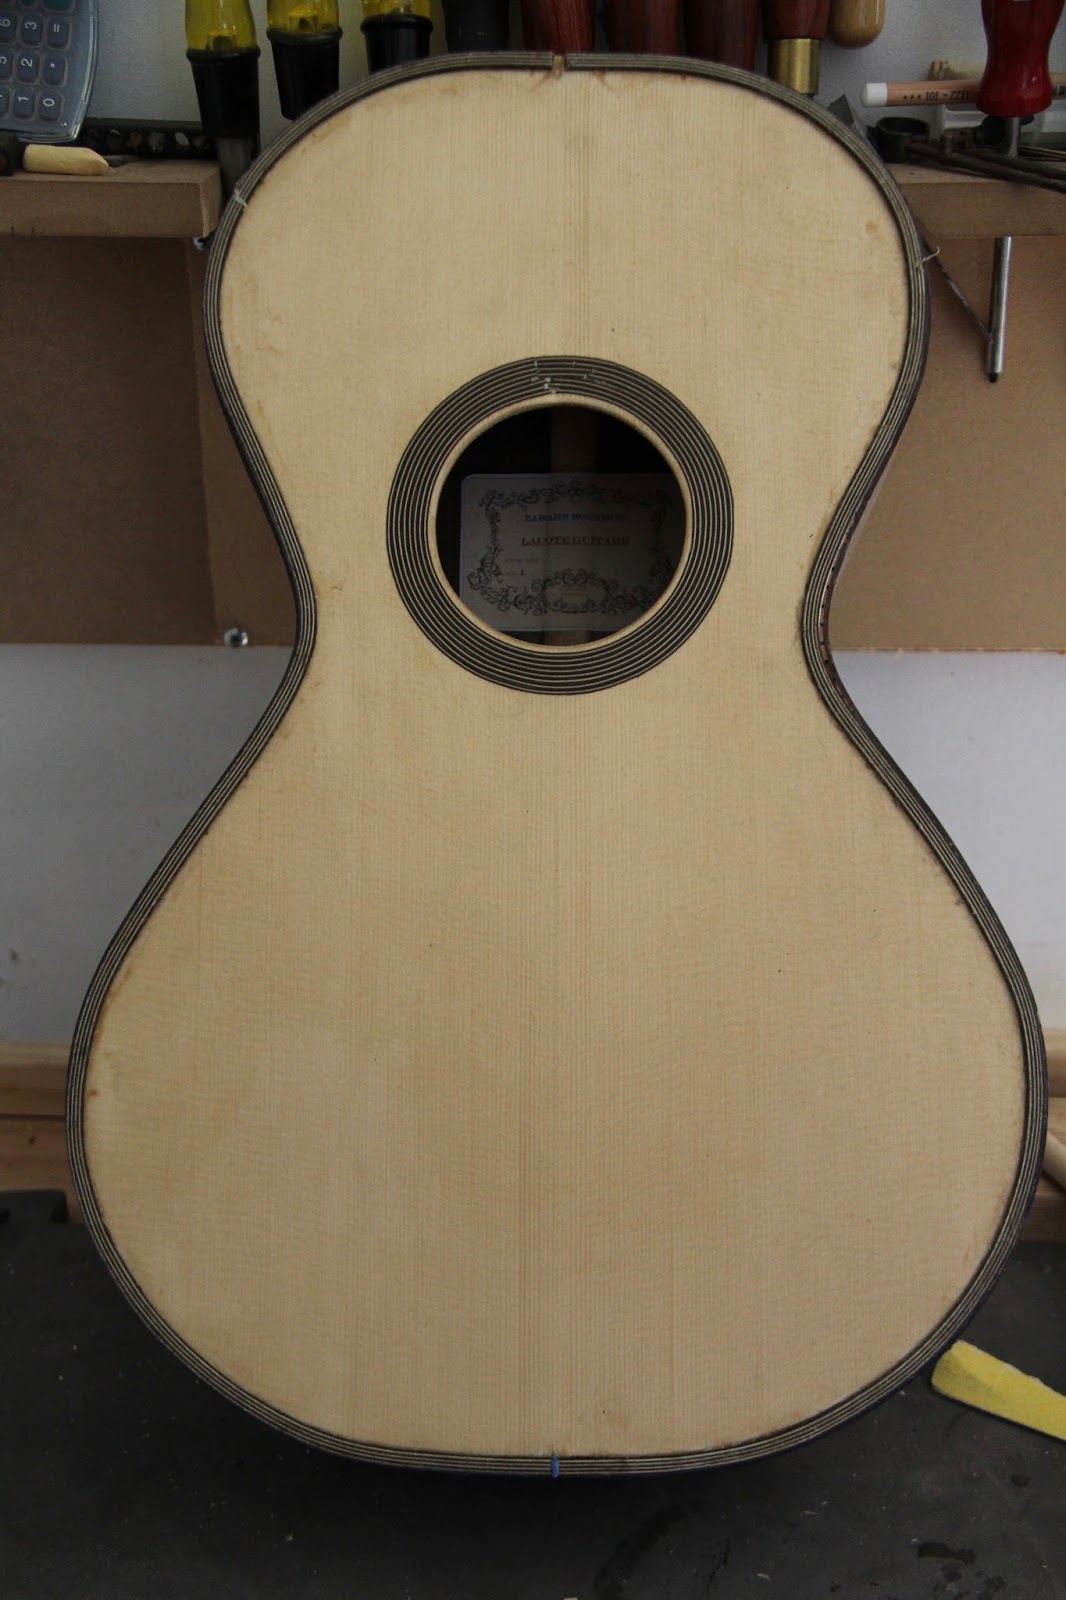
| Made my own label. |


 |
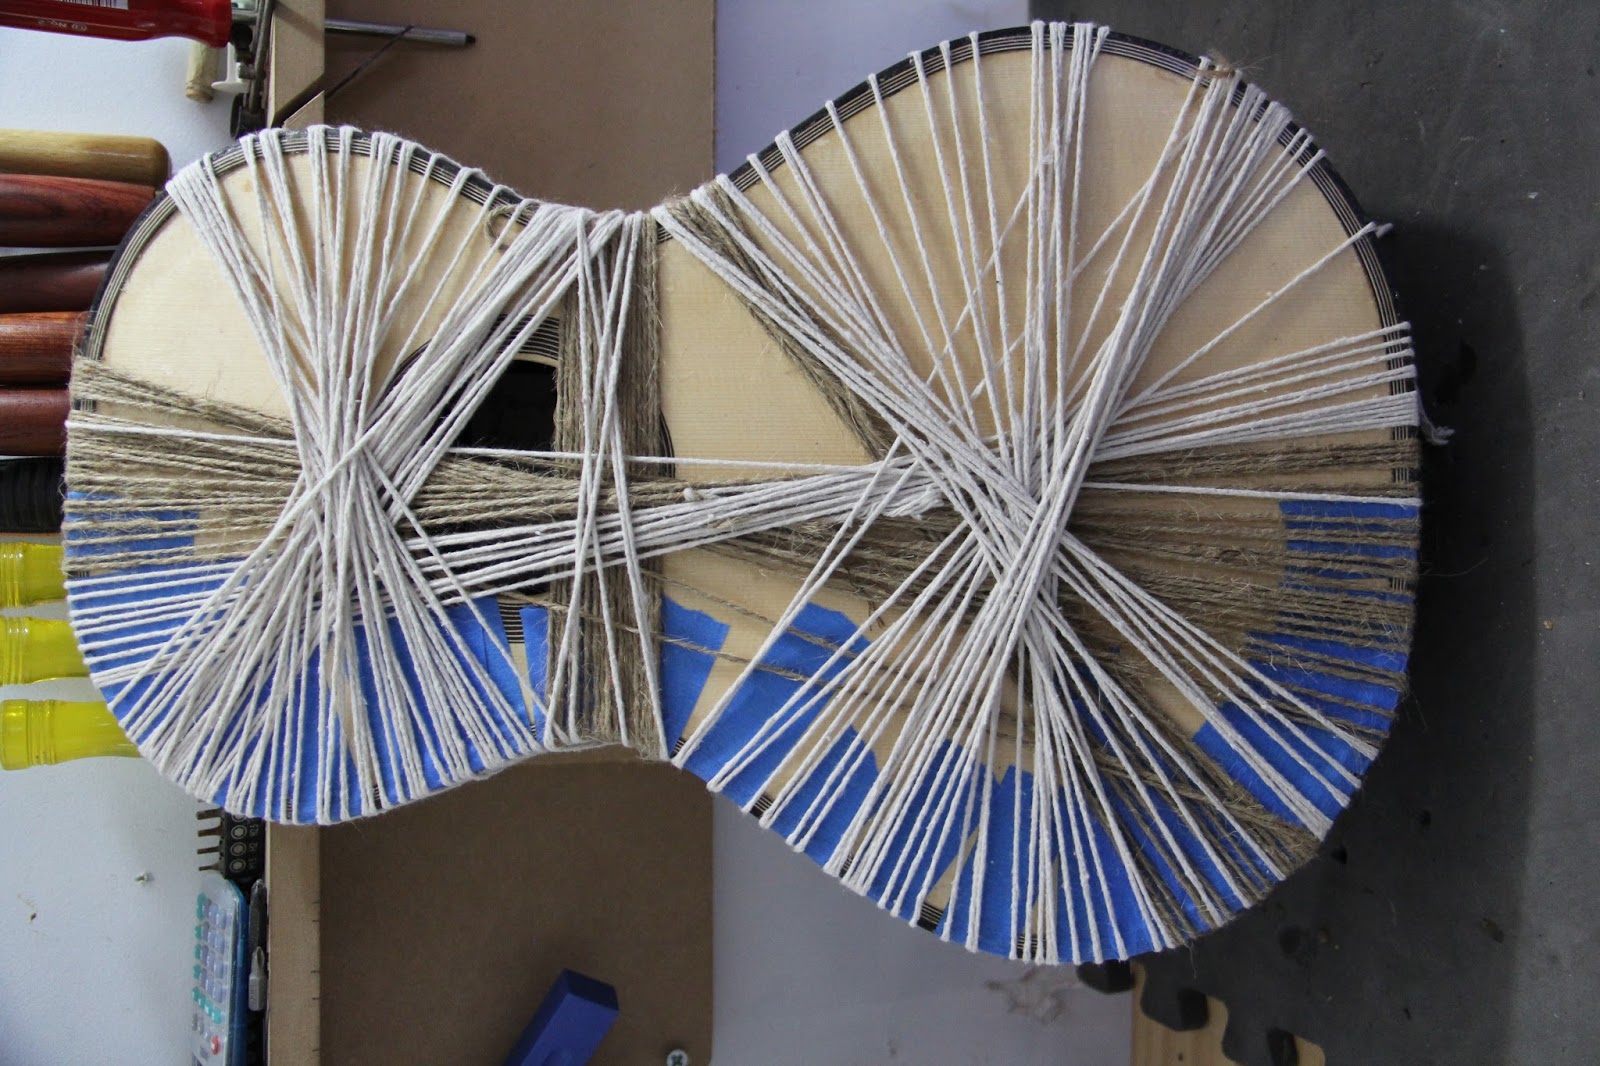
| Glued back with home made spool clamps. |


 |
| preparing the lining |
 |
| Gluing lining to ribs |


 |
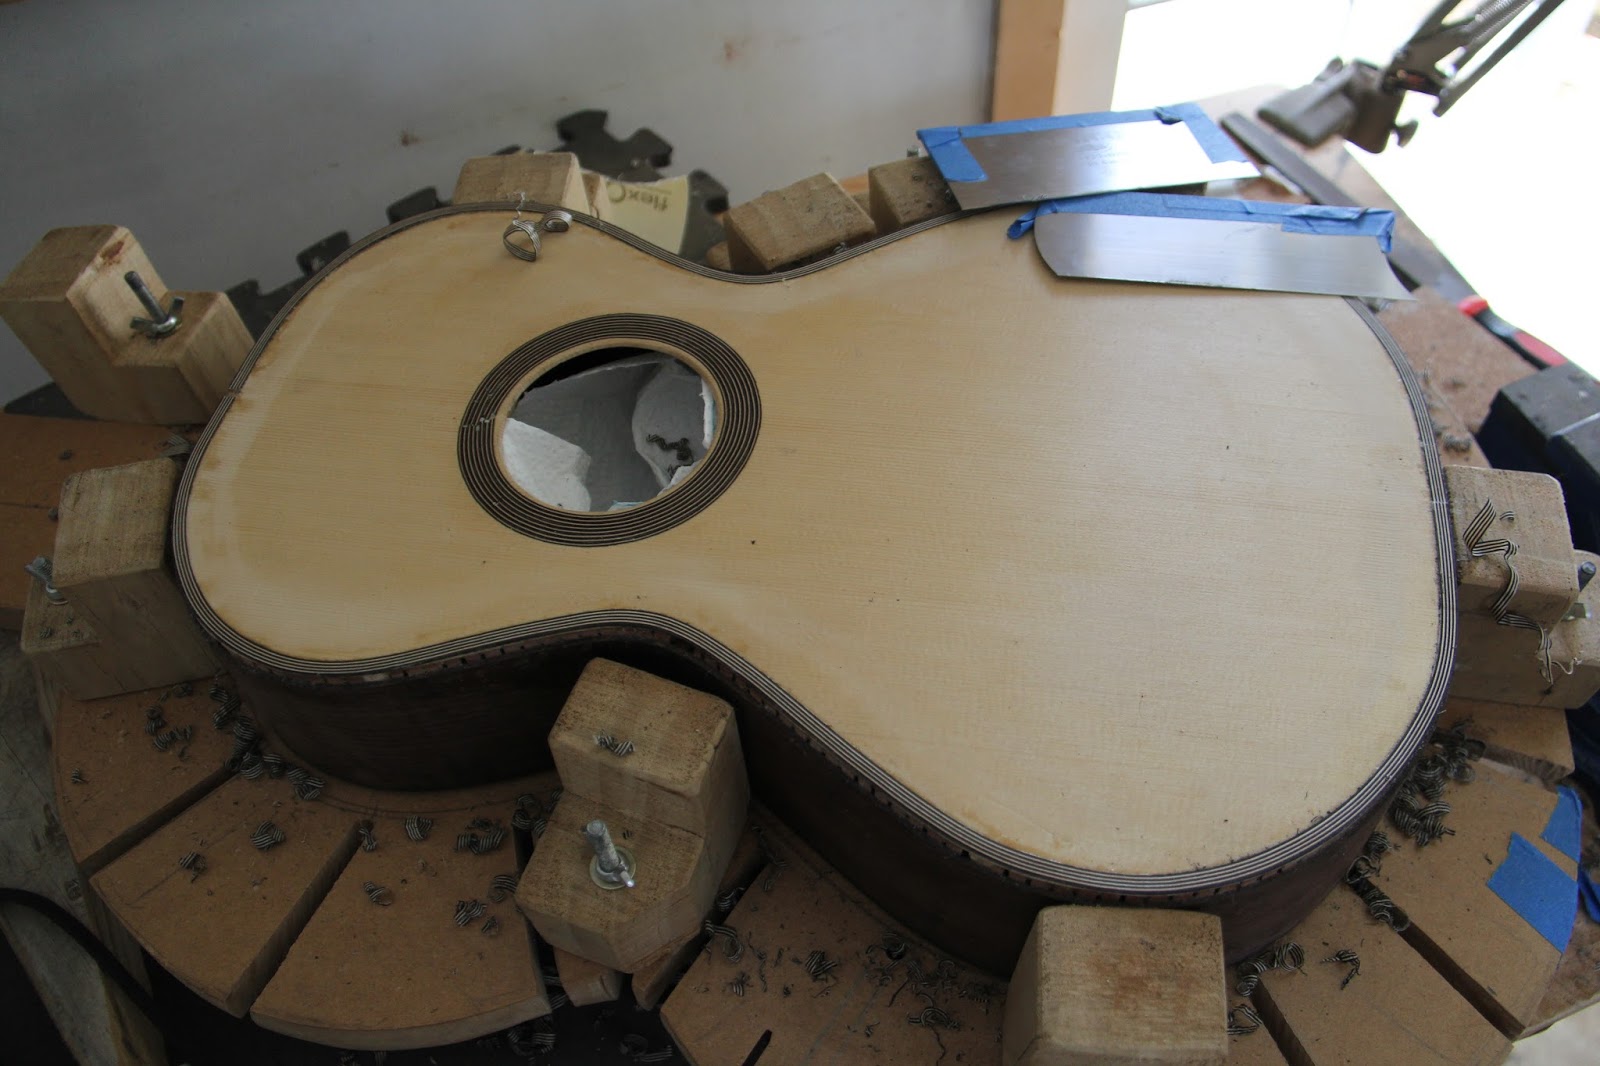
| Gluing ribs to the top. If there was one thing I would do differently next time is to glue the end blocks to the ribs before gluing the top. It was very difficult and I did get some creep with the neck block. |
 |
| Planning ribs to height. |
 |
| I love the aesthetics of a heap of pegs clamping together the lining and ribs. |


